This post may contain affiliate links. As an amazon associate I earn from qualifying purchases.
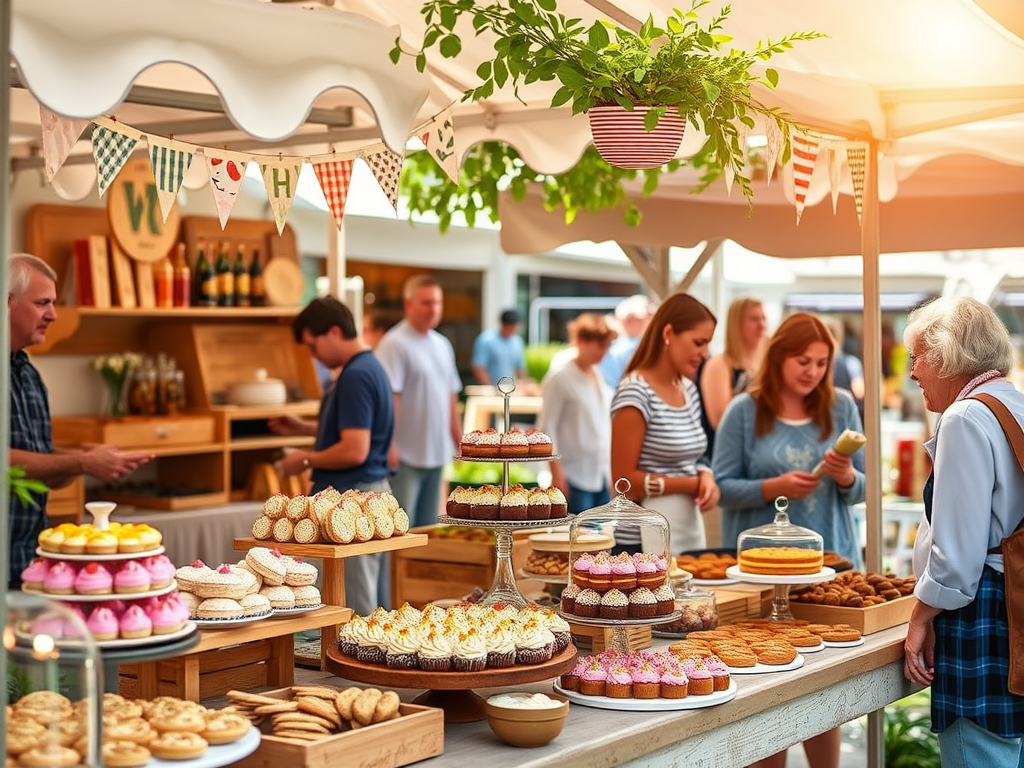
I started Sher’s Sugar Shack, a cottage bakery, in the year 2020. Starting any business can have it’s challenges, but to have to work around the pandemic proved to be difficult. I needed to rely on social media to get noticed instead of meeting people face to face. Working a farmer’s market or other local events does just that. It gives the community the opportunity to get to know you. What you’re about and who you are as a person. This can go a long way when establishing trust with a potential client. The foundation that is needed for a long term client relationship and potential referrals.
The year is 2022 and I’m finally able to do my first farmer’s market. But what do I sell? What licensing do I need, if any? What will the costs be? Is it worth the investment? Is it even worth the effort? In this article. I’m going to share what worked for me. The mistakes I made and how I grew as a business because if it.
What licensing and permits do I need?
In the state of Nevada, it is required to have a cottage license to open a cottage bakery. Working a farmer’s market/special event within my county, a permit to sell product or special events was also needed. Event coordinators want to see that you have insurance for your business to cover liabilities. Insuring your business isn’t astronomical and there’s lots of plans to chose from. I went with Farmer’s insurance for mine and it was a 1 million dollar policy. The cost was $250 for the year which works out to only $20.83 a month. Check with your local health department for any additional fees and/or permits before signing up for events. Most event coordinators will want to see proof of insurance and licensing when filling out the vendor application. In Kentucky, where I currently reside, permits nor insurance aren’t required. Each state has their own set of requirements so get to know your state’s and county’s regulations. They may also want to know what products you will be selling.
Different farmer’s markets and events may also require that you stay present for the entire duration of the event. Whether it’s for the day or for 2 or more days on special events. Others can be a little more flexible. For example, in Nevada I had to be present from 9 am to 2 pm. This was required for every market day that I signed up for. Knowing this, I would schedule personal orders around my market schedule.
What products should I sell?
This can be a tough one. Again, you want to check with the event/market coordinator on their policies first. My Nevada market wouldn’t let one vendor sell an item that was in direct competition with another vendor. This was to help eliminate excessive competition so everyone had an equal chance to generate a profit. This can make harder to promote a particular product if someone else is doing the same item. Instead of missing out however, think outside the box. What are some ways that I could put a twist on this item? How can I make it stand out from my competitors? For example, make cruffins instead of standard muffins. Cakecycles instead of cake pops, etc. These are specialty items that you can offer. Then submit that idea to the event coordinator for approval, if necessary.
Here’s a list to consider when putting together your menu:
- Don’t go overboard! When I first started doing markets, I thought I had to bake the same items as everyone else. I believed this would make me more competitive. Right? Wrong! What it does is create a fast track on the road to burnout. Pick a few items that support your niche. But, don’t be afraid to try new things to add to your menu. As long as it doesn’t steer you away from your passion that put you here in the first place.
- Know your niche and stick with it. If you want to specialize in bread products, then don’t feel like you have to make cupcakes or cookies. Especially if you have no interest in pursuing these items.
- Check out your competition. What are they selling? Is there a hole in that market that you can tap into? Do research to see what’s hot in your area and find a way to compete.
- Including items that have a long shelf life is also a good idea. For example, you make breads so why not include canned jars of jellies, jams or fruit butters? Check to make sure these items are approved under your cottage license, of course. Or perhaps pancake or quick bread mixes. All they have to do is add the liquid ingredients. Adding items like these also can help you to stand out.
- Familiarize yourself with your market/event and the foot traffic. Is it a small or large market? Larger markets will bring more opportunities for getting you noticed but also requires to bring more product. Plan accordingly. You certainly don’t want to bring enough product to feed the entire county. Or, run out of product before the market really gets going for the day.
- Know your ingredients costs and time required to produce your products. If you chose to sell items that are difficult to make and the ingredients are expensive. Then you’ll need to charge more to make a profit. This may steer some customers away who may only be willing to spend a small amount. I specialize is custom cakes. But I know that the customer isn’t going to spend a high price on a large cake at market. So instead, I make mini cakes and cupcakes. This way, the customer’s cost is low and I get the product in their hands to try for themselves. Plus they’re easy to make and the ingredients are not costing me a fortune to produce.
- Pass out samples. Some bakers have great success in passing out samples and it’s has helped them to get noticed. I personally don’t do this myself. In the state of Nevada, it requires an extra permit and fees, but you decide what is best for you. Also check with your local health department first to see if samples are accepted. Not all states allow it. If they do, what are their requirements for packaging and labeling? When in doubt, ask your local county offices.
Is packaging important?
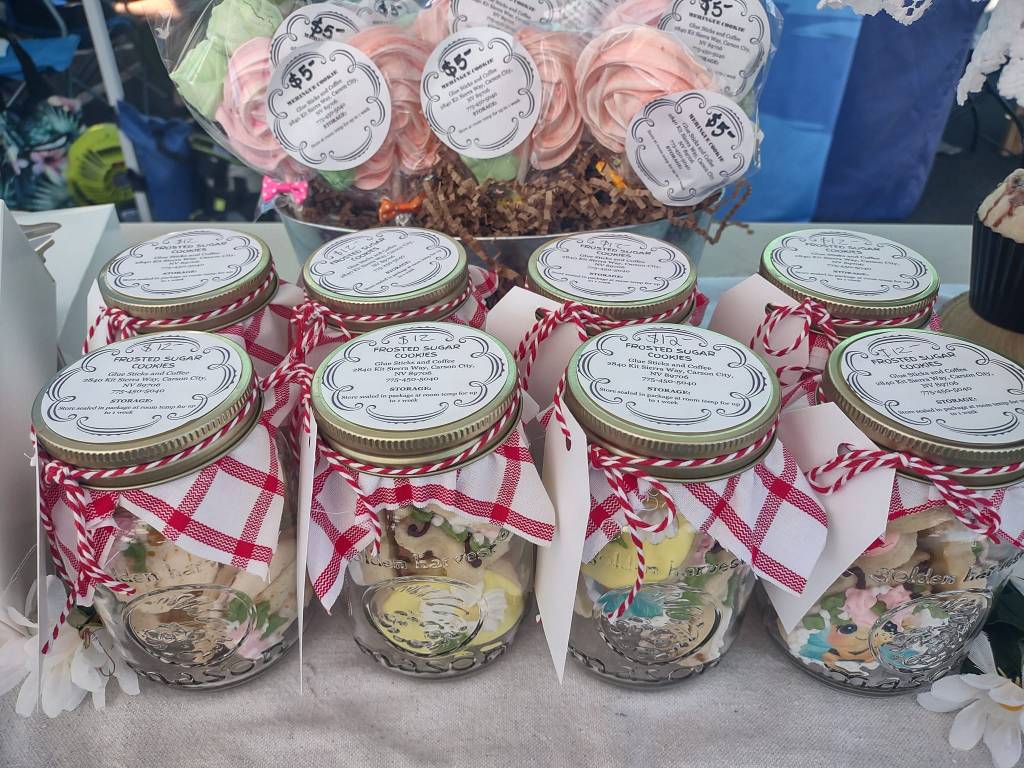
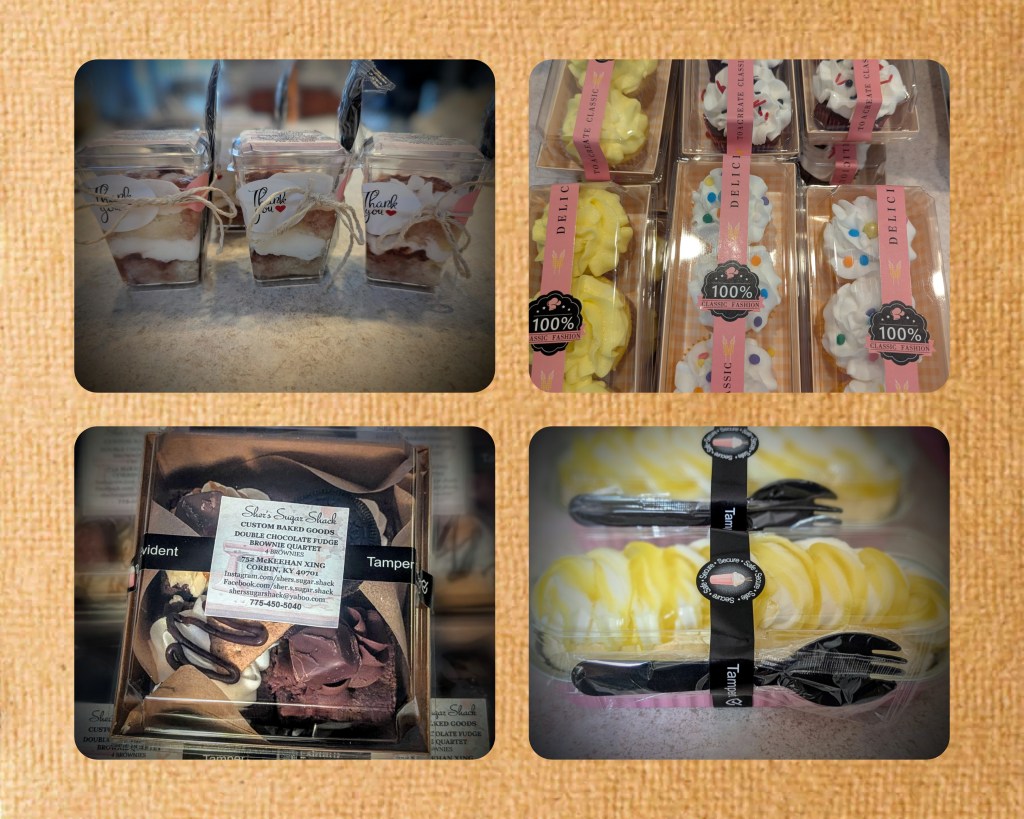
Packaging is one of the most important items to consider when doing a market or event. When you go into a store to buy a product, what is the first thing you see? Packaging. Big commercial companies know this and spend thousands of dollars to make their packages stand out from their competitors. Let’s take an upscale restaurant as another example. They present you with tiny pieces of art on a plate. It’s stunning, really. When you see it, your eyes get big and your taste buds are instantly tuned in. It’s the same when you package your products for sale. This will make the difference in making a only few dollars to possibly selling out. It doesn’t have to cost you an arm and leg to achieve, either. Adding some twine or ribbon and maybe thank you tags or stickers adds charm and looks professional. Remember where you are. A market. The customers that visit the farmer’s market are there to buy produce. But, also want to walk away with a little treat for themselves or someone special. When your products look like little gifts, it stands out above the rest. I get compliments all the time on how I package my product.
I’m not calling anyone out here. But at an event I went to recently, another baker didn’t present her packaging professionally. She didn’t sell very many items and people were lined up at my booth instead. People taste food first with their eyes, not their taste buds. Look at how commercials use this fact when selling food items. They’re not slapping food on a plate and calling it good. They’re making it enticing and irresistible. You can’t help it when your mouth starts to water. And your stomach starts whispering sweet nothings in your ear! You have a great product that you’re proud of so show it off! I have found that customers don’t mind paying a little bit more either. Professional packaging tells them that you are a professional. And that you are a business and not a bake sale. Don’t be a bake sale.
Here’s a list with links to my favorite packaging that has proven to make my business stand out. I’m not suggesting that you go crazy and buy everything on this list! Start with a few items and add more as you grow. Mix and match the ones that best fit your needs. Not all my packaging is pictured below but it’ll give you an idea. Get creative!

- mini cake loaf pans. I chose pink because I find them cute and they match my theme. They come with clear lids, spoons and sealing stickers.
- mini square baking pans. Perfect for adding mini cinnamon rolls, cake slices, brownies, etc. These also come in other colors and include lids, spoons and sealing stickers.
- 5oz cupcake pans with dome lids and spoons. Perfect for small items and can be used in the oven
- aluminum foil pans, 2.25 lb with clear plastic lids. They’re approximately 8″ x 6″ and perfect for a cookie box or cupcakes, etc….
- disposable aluminum mini loaf pans with clear lids and stickers. These are perfect for mini sweet breads. Plus they come in two different sizes.
- 9″ round aluminum foil pans with clear lids. I use these for my mini pies and cakes.
- charcuterie boxes with lids. I make giant cookies and I’m to fit three in these boxes. But you can really use this for just about any small bakery item. They’re very versatile. They come with lids, twine and stickers.
- roll cake box with lids. I use these for smaller items like macarons, frosted brownies and small pastries.
- pink bakery boxes with window. These are very cute and versatile as well. Fits mini cupcakes, cake slices, large brownies or smaller cookies.
- translucent cellophane bags with stickers. I can’t even begin to stress how cute these are. I package my giant chocolate chip cookies, for example, in these and they sell out every single time!
- bakery bags with window, heat sealable and grease proof. I use these for my larger decorated sugar cookies. Especially, my paint your own (pyo) cookies.
- 5.1 x 7.5″ clear front paper cookie bags, heat sealable and grease proof. I also use these for my smaller decorated sugar cookies.
- tamper proof safety seal stickers. These aren’t required but giving your customer the reassurance that their product is safe goes a long way!
Consider item quantity per link. You’re only paying a few cents per box or bag to make your items look enticing and professional. Everybody likes to buy a product in cute packaging that looks expensive. Chose the ones that will best suit your product and keep a variety on hand. Start small and add packaging as you need it. All of these are versatile and most you can bake with. I sometimes will play around with the packaging to change things up.
Setting up a display table

Setting up your display is the fun part. I love to decorate! I also love rustic and farmhouse. All of my displays will have that flair to them which adds to that “welcome” charm. When you set up your display table or tables, make sure it flows from one area to the next. Regardless of your style or theme. Make it inviting and draw your customer in. Add tablecloths, greenery, flowers and items that fit the holiday or season. You can even hang solar lights: to the inside to add warmth and charm. The important thing is make your customer feel welcome and important. Say a nice greeting and let them know that you’re here if they have questions. Remember, you want to make yourself stand out above the others and get them in the door, so to speak. Once they’re there, be friendly and let them know what you have to offer. If you just stand there and don’t say anything, then you risk coming across as unfriendly. It may also comes across as you don’t care if they buy anything or not. Talking about yourself may seem intimidating at first but it gets easier. Trust me, I know. I tend to get shy under certain circumstances. But once you start talking about your product and your passion, you’ll find that you cant stop talking, lol! Enthusiasm is a very good trait. It also helps to have a friend or partner there when it gets busy.
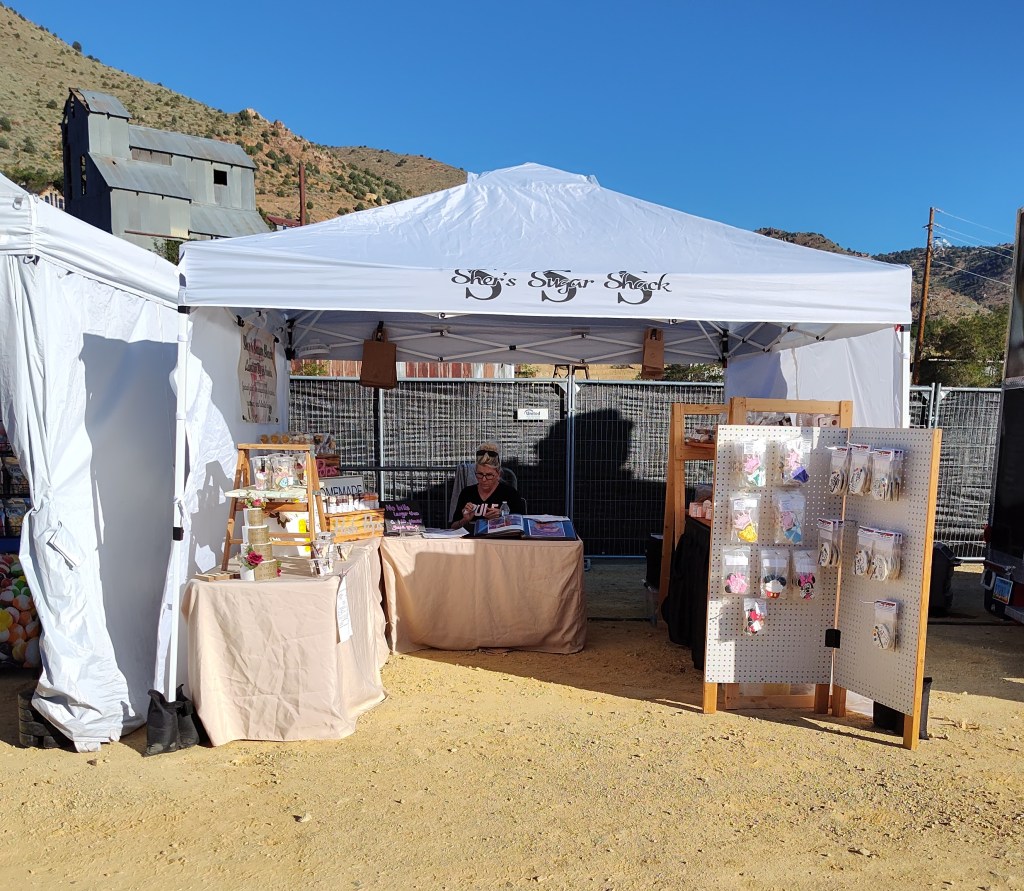
Tables are a must have. Most venues do not supply tables or canopies for that matter. Folding tables are not expensive and Amazon has a lot to chose from. You can do 6′ or 4′ folding table(s) which is very convenient and easy to cart around. And, they’re sturdy. You won’t have to worry about them collapsing. Top them off with a table cloth and you are ready to set up your display. The table cloths come in several different colors making it easy to compliment your theme and they’re washable. I’ve been carting these around from venue to venue for the last 5 years and they are still holding strong! I like the tablecloths that go to the ground. It allows me to hide all my totes and other items from sight and keep my area clean.
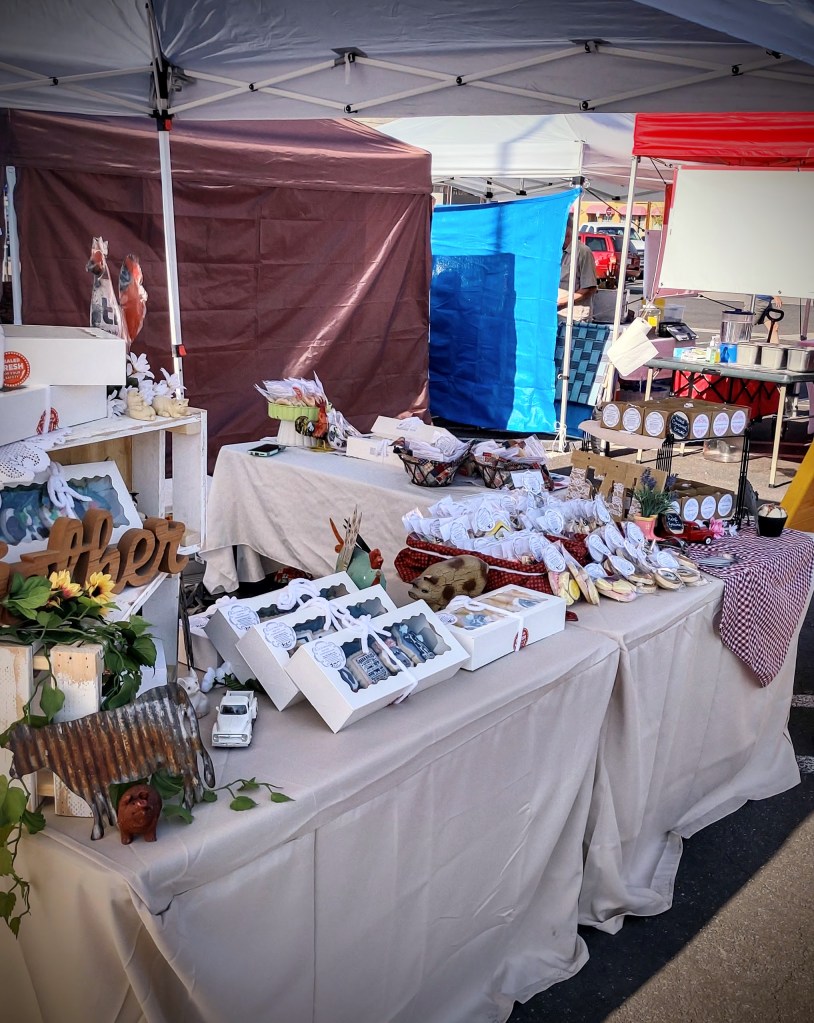
We no longer put two tables in front like shown in the pic above. Instead, we set ours up into a “u” shape which draws the customer inside. We put one table towards the back with two chairs behind it for us. This is for checking out and keeping business cards accessible while they flip through my portfolio. Then we have a table on both the left and right sides for product. In the front corner is where I put my cookie display. My chalk board menu goes in the other corner. This creates an open, clean and inviting space to draw customers in.
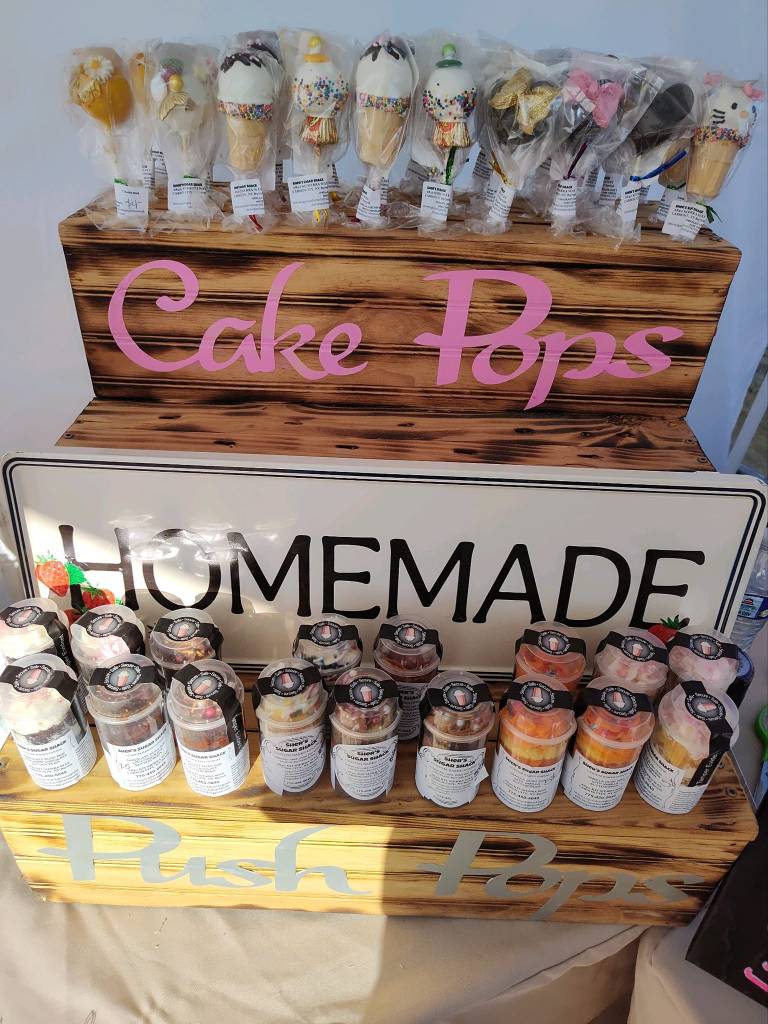
Another tip for displaying your product is to do it in layers. Draw the eye up as well as to the side. If you don’t have a lot of product to start, don’t worry. Put a wooden crate on its side. This allows you to display signage or product inside the crate as well as on top. Or upside down. You can then display product on top like a shelf. Also, put product on the table in front of it. This creates eye candy for the customer. It also tricks the eye into thinking you have more product than you do.

The pic above is when I first started. I didn’t have the money to run out and buy a bunch of displays so I built my own. I got creative and it fit within my farmhouse theme. You can take items from around your house, in my case, my kitchen. Add some small table cloths or scraps of fabric. This gives your space a very cute and personal touch. Or go to craft stores and find items on clearance. Think outside the box and before you know it, you have a cute, rememberable and professional booth on display. I have since upgraded my displays as well as my packaging from when this pic was taken. I look more professional now than when I started and am constantly receiving compliments. You’ll find that as you grow and learn, so does your business.
One more note is to have a friend or family member help you at the market. It really makes a difference in keeping your sanity when it gets really busy! They can help sell your product because they believe in you! My hubby is the head of my advertising department. Plus they can keep an eye our for sticky fingers, and help you get everything set up. Also, they’re there if you need a bathroom break! My hubby and I have a system so we’re set up and ready to go with in 20 minutes. Love it!
Portfolios
I keep a portfolio on my table of my most favorite products that I’ve made for personal orders. I took the photos on my computer then edited them in apps like Polish and Canva. In Canva, I can remove the background and add an alternate one, add text and so much more. The same with Polish. I can do all sorts of editing here as well to help make my pic more professional looking.

Or, you can add photos around your canopy that shows the customer what you can do. It helps when they can see your capabilities for themselves. I also have my Facebook and Instagram links printed on my business cards. Letting them know that they can go to my social media to see more.
Advertising

Whatever I do, whether its pics from an order, events coming up or some exiting news. I post it on social media. The best part is it’s free! I also add hashtags to get that message out further. For farmer’s markets, I’ll do a post in the form of a video with catchy music. The video showcases everything I have sell that particular week and where I’ll be. This has helped me get a loyal following. Actual customers who rush to the market to grab the item they said they saw in the clip. This always makes me feel good so I let them know just how much I appreciate them. It also shows me what’s popular and what isn’t. I have items that always sell out so I stay consistent with these products.
Be consistent with your social media. Post often and share to community groups in your area. Really engage with the public and you’ll reap rewards. And, as I said before, the portfolio does extra advertising for me. It takes time to get yourself out there so be patient. It’ll happen. After a while, you’ll start seeing repeat customers and customers who showed up from a friend’s referral.
I’ll get more into labeling your product for sale in another post. What to know and what’s required according to state and local offices.
Help support this page by giving me a thumbs up and subscribing to receive exclusive access to recipes and tutorials!
Have questions or would like more information? I’d love to hear from you!


Leave a comment